Pages

Showing posts with label Bread. Show all posts

Sunday, May 17, 2015

Mother Yeast

The holidays are now over, we got back home Thursday night at 4 am.
I brought with me many memories, pictures and a general feel of well being and happiness. Spending time with my family really fuels my soul.

I also brought with me Mother Yeast, or Pasta Madre, or Lievito Madre.

My mother got some from a friend who got it from her brother-in-law, who got it from a family somewhere else.

This is a dough which is usually passed down for generations in the households of rural Italy.

Some families had Mother Yeast passed down for the past 400 years. The older the dough, the better it works. It's something amazing to think about: you might be baking using a natural yeast  your mother, grandmother, great-grandmother and great-great-grandmother used to bake.

You may be kneading the same flour they kneaded. 

However, it is hard to come by because it's not sold in any shop, you must find someone who has extra and is willing to share it.

My mother has some now, and she insisted I take some.

It needs to be renewed every week, some people renew it every single day. In fact, the more you renew it, the better it works.

Some chefs say it is at its best after 3 or 4 years of "life".

Now, to the renewal process.

First, you get the Mother Yeast out of the fridge, where is kept in a glass jar with the lid on.

Then, prepare the tools: scale, spoon and a clean bowl.
 Cover the scale plate with some tin foil, and lightly dust it with flour, so the Mother Yeast will not stick to it.
 Place the Mother Yeast on the scale and weigh it. 
Add the same amount in fresh flour.

 Place both in the bowl.
 Measure half the amount in water, for example you have 100 grams of Mother Yeast, so you'll add 50 millilitres of water.

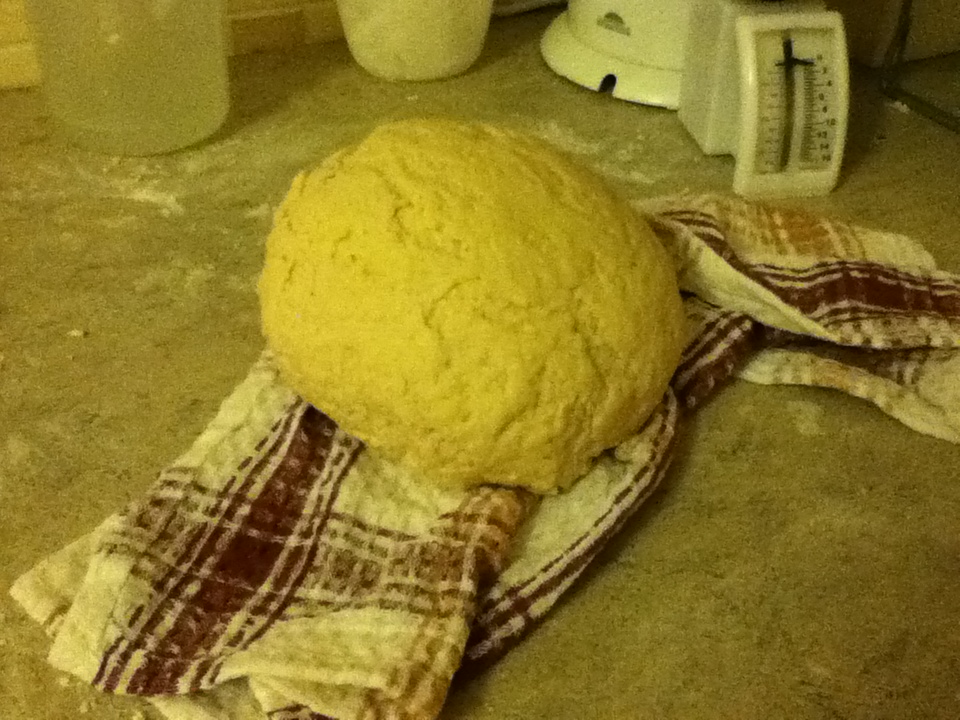
 Knead it well as if you were making a bread loaf.


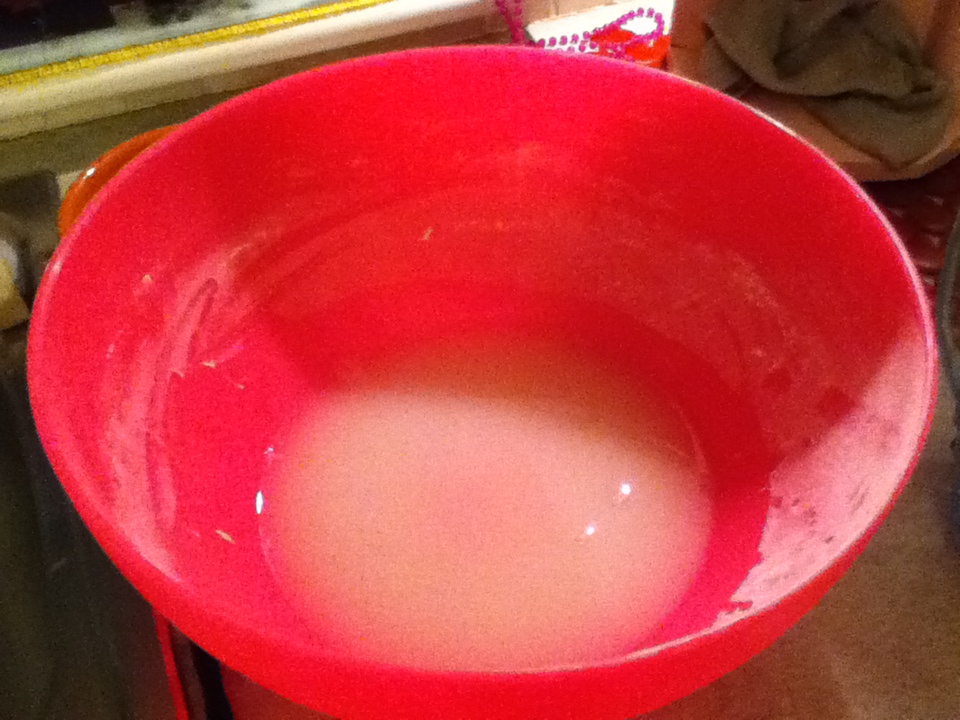
 Now, place it in the bowl, make a cross on it with a knife and cover the bowl with a clean cloth.

 When it looks like this, it is ready to go back in the glass jar and in the refrigerator.

I have renewed my own Mother Yeast today, on a Sunday, so that each week I will make sure I do it, as Sunday is usually the day we bake. It takes literally 5 minutes for the renewal process and it is great to be able to bake without any store-bought yeast.

I will be giving it a try soon, and report back ;)

Monday, February 23, 2015

Bread Beautiful...

This is nice: I managed to make one of those flat loafs of bread we can buy here in Ireland which are half way between a focaccia and an actual bread loaf.

The recipe is simple:

800 Grams of Flour
450 ml of Water
90 ml of Olive Oil
2 Teaspoons of Salt
7 Grams of Yeast
1 Tomato
Basil, either dried or fresh

I placed everything, except the tomato and the basil, in the bread machine. If you don't have a bread machine, knead by hand.

This is the dough I got:


I placed it on my (best friend) and gave it a shape.


Then I have transferred it on the baking sheet, brushed with olive oil and slices of tomato, sprinkled with dried basil:


This was at 11 am. I have put it in the cold oven, and by the time I got back home last night it had trebled in size.

So at 8 pm, I switched on the oven to 220 degrees Celsius and waited until it was nice and crusty.

And here it is, splendid!


This morning my husband demanded a panini for work :)

This recipe is easy to replicate and shows that bread needs patience and time...

Wednesday, March 6, 2013

Oil Bread, or the soft dough bread

Bread, the staple food that we used to buy at the "end of the day" reductions. Problem is, is full of anti fungal, alcohol, weird kind of fats and other stuff you would not really want to eat, I think.
Now, I bake my own bread in the electric oven, and we always have it in the house to accompany our meals.
The recipe I use now will give you an elastic dough that is easily stretched to make focaccia, which is a kind of pizza, filled with mozzarella and ham, usually, and covered with another layer of dough. It is lovely to eat, it keeps for a few days and is good eaten hot or cold. My husband takes it to work for his lunch almost every day.
Now for the recipe and procedure.

Ingredients:

500 grams of plain flour
300 ml of water
60 ml of olive oil
1 sachet of dried yeast
salt to taste

Mix everything together, adding nuts, olives, turmeric, anything you fancy really in your bread. Or just stick to the basic and enjoy :)

I let the bread-maker do this part of the work for me, I've already said my bread machine is worth her weight in gold and I'm not exaggerating.

Anyway, once you have a nice soft ball, place it in a bowl and cover it with a clean tea towel. I place it then in the cold oven, so it is away from temperature change that may occur in the kitchen.

After about 2 hours you will see the ball has almost doubled in size and so is ready to be baked. Take olive oil and brush your loaf with it. Now, if you are lucky enough to own a cast iron pot, place it in the pot with the lid on and in the oven. 

Switch the oven on to 200 degrees Celsius and let cook for about 30 minutes, or until you see the crust is starting to form.
At this stage, take the loaf out of the pot and place it on the oven rack and let cook until you are satisfied with the crust outside.
And here it is:
Baking your own bread will save you about 30% on the shop bought one, and most important, will spare your body the added crap ;)

Monday, April 30, 2012

Naan Bread Made Easy

I confess I discovered Naan Bread only a few years ago, when I moved to Ireland. I had never seen Naan before. The thing is, I like it!
So, Saturday I decided to "bake" some at home. Naan does not require an oven, so it is really a great option for anyone wanting to taste some fresh bread without the hassle of actually baking.


Ingredients:


400 Grams of Greek Yogurt
5 Cups of Flour
1 sachet of Yeast
1/2 Cup of Water
2 Tablespoons of Olive Oil
1 Teaspoon of Coriander (powder)
Salt to taste


I boiled the water and placed it in a cup, on top of the coriander powder and set it aside.
I placed the yogurt in a large bowl with the yeast and the water and coriander mixture.
I added 1 and 1/2 cup of flou to the bowl and let it settle, covered, for 30 minutes.
Afterwards, I added the salt, the olive oil and the rest of the flour, kneaded everything to make sure the dough is uniform and let it rest for over an hour.


In the end, the dough raised, I made 8 flat breads and, using a culinary brush, coated them on one side with some olive oil and placed them in the non stick pan on medium heat.


And this is the result in the end:
On the Naans, I put some cherry tomatoes, some mozzarella and fresh basil. Yum!

Monday, February 6, 2012

Home Made Bread

There is absolutely NOTHING that tastes like your own bread. Now I know for sure.


What I made was the Italian style, hard crust bread that we use to scoop the pasta sauce after we've finished eating. It's one of the habits we kind of lost along the way of emigration because of the bread difference.


The recipe I found is one specific for electric ovens, like mine. There is definitely room for improvement, but my mother taught me this applies to everything in life, especially bread :)


So, the dough needs to be started the evening before, so it can be left to raise in a bowl for the night. I placed it in a plastic bowl, wrapped it in cloths and placed it in the oven. I didn't want any room temperature change to disturb my precious dough!


What I used:


1 Kg of flour (Ideally 500 grams of strong flour and 500 grams of "00" flour, but the latter is especially expensive and hard to find, in Ireland)
450 grams of warm water
7-8 grams of yeast
Salt


I mixed the water and the yeast in the bowl.


Then I added the salt, I think about 1/2 a spoon of table salt and then I folded in the flour very slowly.
I kneaded the dough until it became this:


At least 10 minutes of kneading are needed. I like kneading the dough, it makes me feel I am really creating something. Some water may be added at this point, if there is still flour flying around.


I placed the dough in the bowl and then in the oven, switched off.


Saturday morning I found this:


What a pleasure! My own dough!!! I gave it the shape I wanted, and then let it rest for another 2 hours:


While waiting, I made sure the oven reached 250 degrees Celsius and baked other "experiments" (details to follow). Once the oven reached the temperature, I cooked the loaf in the oven (without the fan) for 30 minutes. After 30 minutes I turned the temperature down to 200 degrees Celsius and let the bread cook for another 30 minutes, with the fan on.


This is what came out, and we all loved it!
The outside
The inside